Hogwarts Legacy: Cursed Tomb Treasure Walkthrough
- Last updated on
This article provides a guide for the quest, "Cursed Tomb Treasure" in Hogwarts Legacy. Find out the conditions and location of the quest and get rewards!

How to Unlock: Cursed Tomb Treasure
Obtain the Mysterious Map Fragment
| Map location | Exterior |
|---|---|

|

|
| How to obtain the Mysterious Map Fragment | |
|---|---|
| 1 | Head to the ruined Manor Glen at Manor Cape |
| 2 | Cast Alohomora to unlock the door |
| 3 | Defeat Ashwinder |
| 4 | Open the treasure chest using Alohomora |
The Mysterious Map Fragment can be found in the ruined Manor Glen at Manor Cape. You need to use Alohomora Level 3 on the door along the way. If you unlock the door and defeat Ashwinder, you can reach the treasure chest.
Walkthrough: Cursed Tomb Treasure
| Cursed Tomb Treasure | |
|---|---|
| 1 | Go to the Tomb of Treachery |
| 2 | Burn the spider web with Incendio and the proceed |
| 3 | Defeat the enemies that appear |
| 4 | Use Lumos to guide the two moths in the right room to the door |
| 5 | Move the box in the left room down the stairs with Wingardium Leviosa |
| 6 | Use Lumos to guide the moth on the top of the step to the door and then place it on the door |
| 7 | Defeat all the dead that appear |
| 8 | Use Flipendo to arrange the puzzles on the floor in the same order as the map. |
| 9 | Open the treasure chest that appears |
Go to the Tomb of Treachery

Head to the Tomb of Treachery marked on the Mysterious Map. If you have fast travel enabled, you can go there directly.
Burn the spider web and then proceed

Use Incendio or Confringo to burn the spider webs that appear along the way. After burning it, you will be able to pass through the passage.
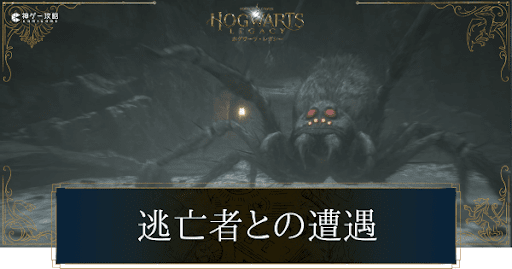
Defeat the enemies that appear

When you break through the spider's web, Spiders will appear. There aren't many of them, so calm down and defeat them.
Use Lumos to guide the two moths in the right room.

Use Lumos to guide the two moths in the room on the right to the door. After guiding, release Lumos and it will fit into the door.
Place the box in the left room under the steps

The box in the room on the left can be moved down the steps using Wingardium Leviosa. After moving, use it as a foothold to proceed further.
Guide the moth on the step to the door

Use Lumos to guide the moths on the steps to the door. After guiding it, release Lumos and it will fit into the door.
Defeat all the dead that appear

When you go through the opened door, dead people will appear. Defeat them all. Since there are a lot of them, you can use target lock to reduce their number and get an advantage.
Arrange the puzzles on the floor in the same order as the map

Use Flipendo for the puzzles on the floor and line them up in the same order as the hint map. A treasure chest will appear when you solve the puzzle.
Open the treasure chest that appears

Open the treasure chest that appears to clear it. You can obtain the Treasure-Seeker's Attire from the treasure chest.
Reward
Treasure-Seeker's Attire

You will obtain the Treasure-Seeker's Attire as a reward for clearing the quest. It is a cosmetic item, so it has no effect on your status. However, it is valuable equipment, so be sure to get it.
400G
You can get 400G by clearing the quest. Since money is often used for equipment purchases, etc., make use of side quests to earn money efficiently.
180 XP
The reward for this quest is +180 XP. XP is required to level up, so make use of side quests to earn XP.
| List of Quests by Type | |
|---|---|
 Side Quests Side Quests |
 Assignments Assignments |
 Relationship Quests Relationship Quests |
 Treasure Map Guide Treasure Map Guide |


| List of Relationship Quests | |
|---|---|
 Sebastian Sallow's Quests and Branches Sebastian Sallow's Quests and Branches |
 Summary of Natty 's Relationship Quests Summary of Natty 's Relationship Quests |
 Summary of Poppy Sweeting's Relationship Quests Summary of Poppy Sweeting's Relationship Quests |
|


| Poppy Questlines | |
|---|---|
 A Dragon Debrief A Dragon Debrief |
 Poached Egg Poached Egg |
 The Poacher's House Call The Poacher's House Call |
 Surprise Meeting Surprise Meeting |
 The Centaur and the Stone The Centaur and the Stone |
 A Bird in the Hand A Bird in the Hand |
 Poppy Blooms Poppy Blooms |
|
| Natty Questlines | |
|---|---|
 The Lost Child The Lost Child |
 Mum's the Word Mum's the Word |
 Grief and Vengeance Grief and Vengeance |
 Finding Focus Finding Focus |
 Harlow's Last Stand Harlow's Last Stand |
 Acting on Instinct Acting on Instinct |